

Garage Door Insulation
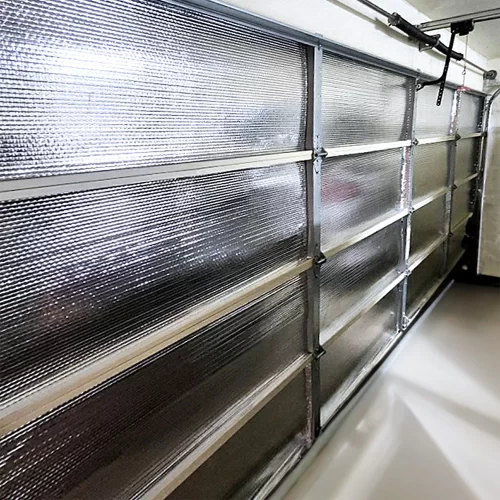
Energy Shield offers ES® Reflective Bubble & ES® Reflective Foam Insulation Kits to help transform ordinary garage doors into energy-efficient barriers. These products reflect up to 95% of radiant heat, keeping your garage cooler in summer and warmer in winter. Enjoy year-round comfort, reduced condensation, and improved energy efficiency throughout your home.
Garage Door Insulation
Energy Shield offers ES® Reflective Bubble & ES® Reflective Foam Insulation Kits to help transform ordinary garage doors into energy-efficient barriers.
These products reflect up to 95% of radiant heat, keeping your garage cooler in summer and warmer in winter.
Enjoy year-round comfort, reduced condensation, and improved energy efficiency throughout your home.
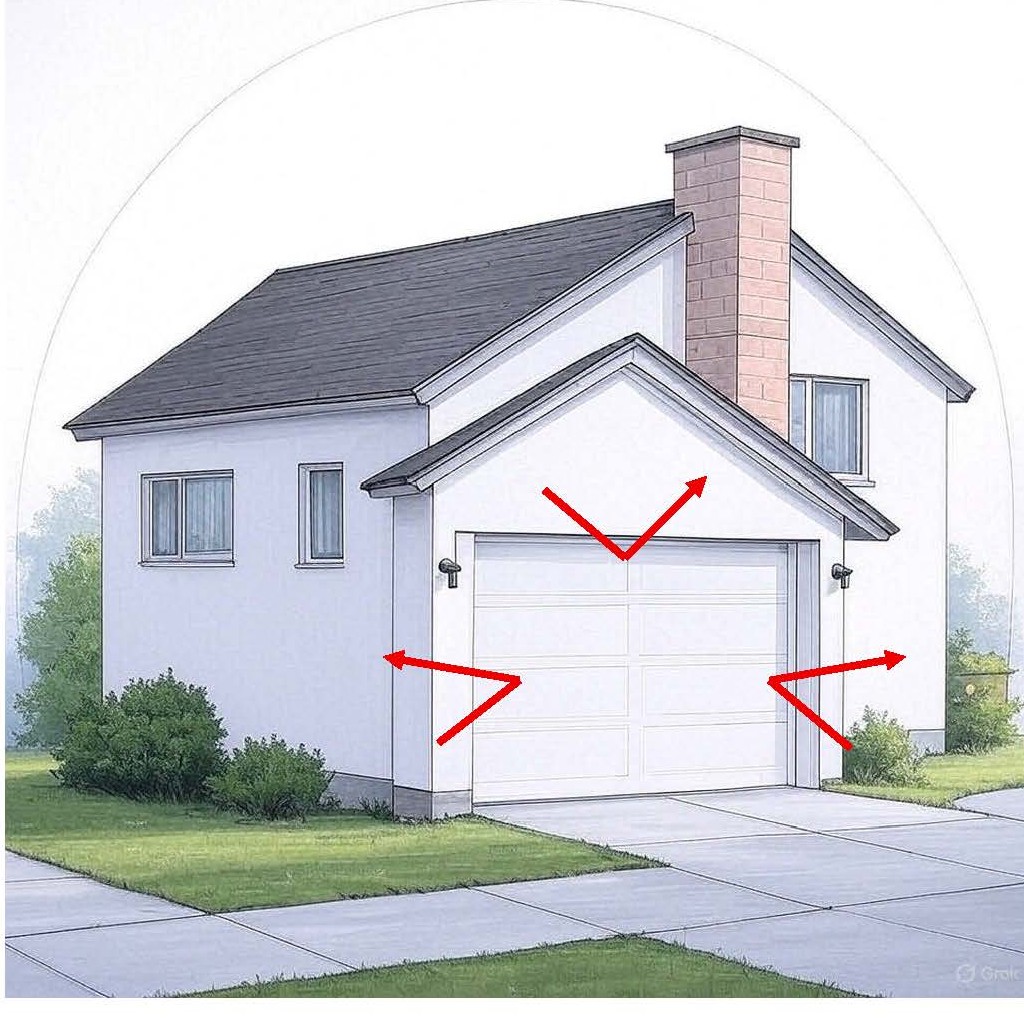
Keep heat out
Reflect radiant heat away from your garage to stay cooler during hot weather and reduce indoor heat buildup.
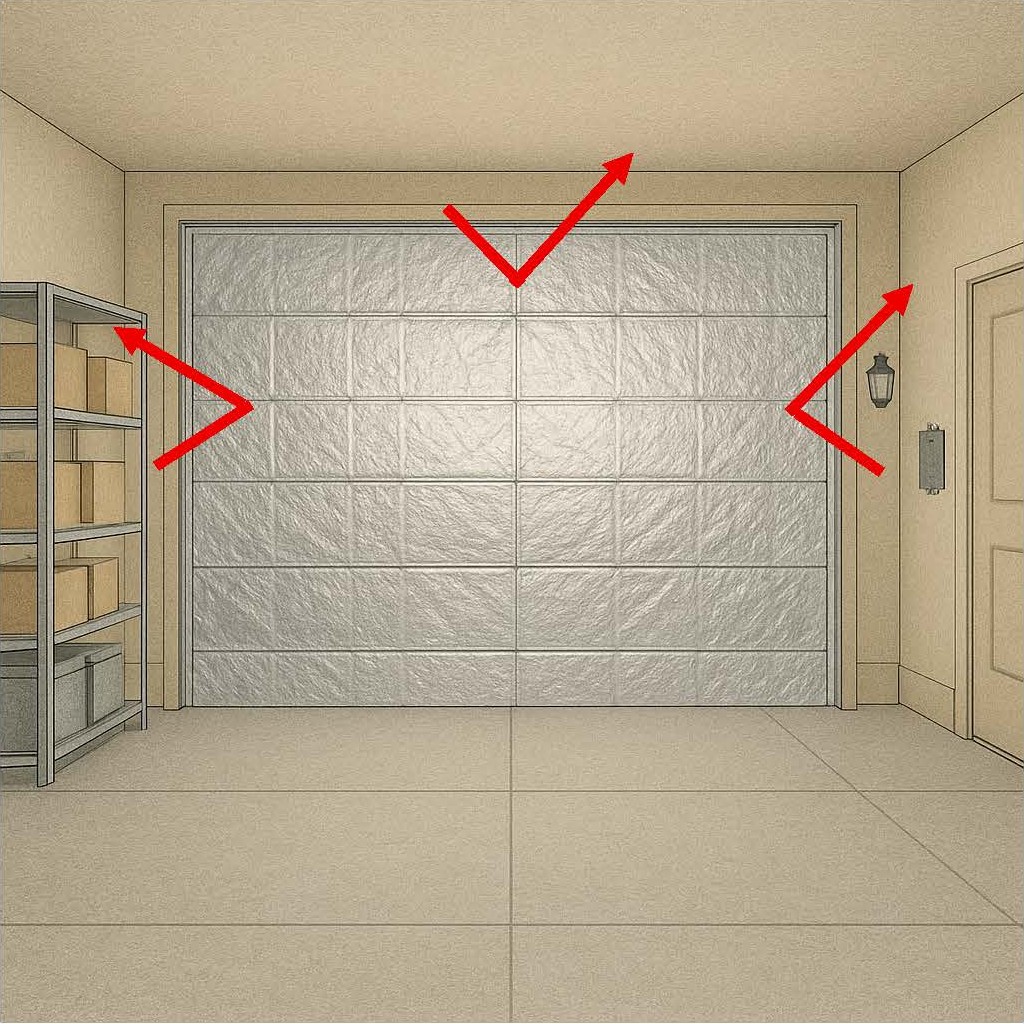
Reduce heat loss
Reflect heat back into your garage during cold weather to maintain warmth and improve year-round comfort.
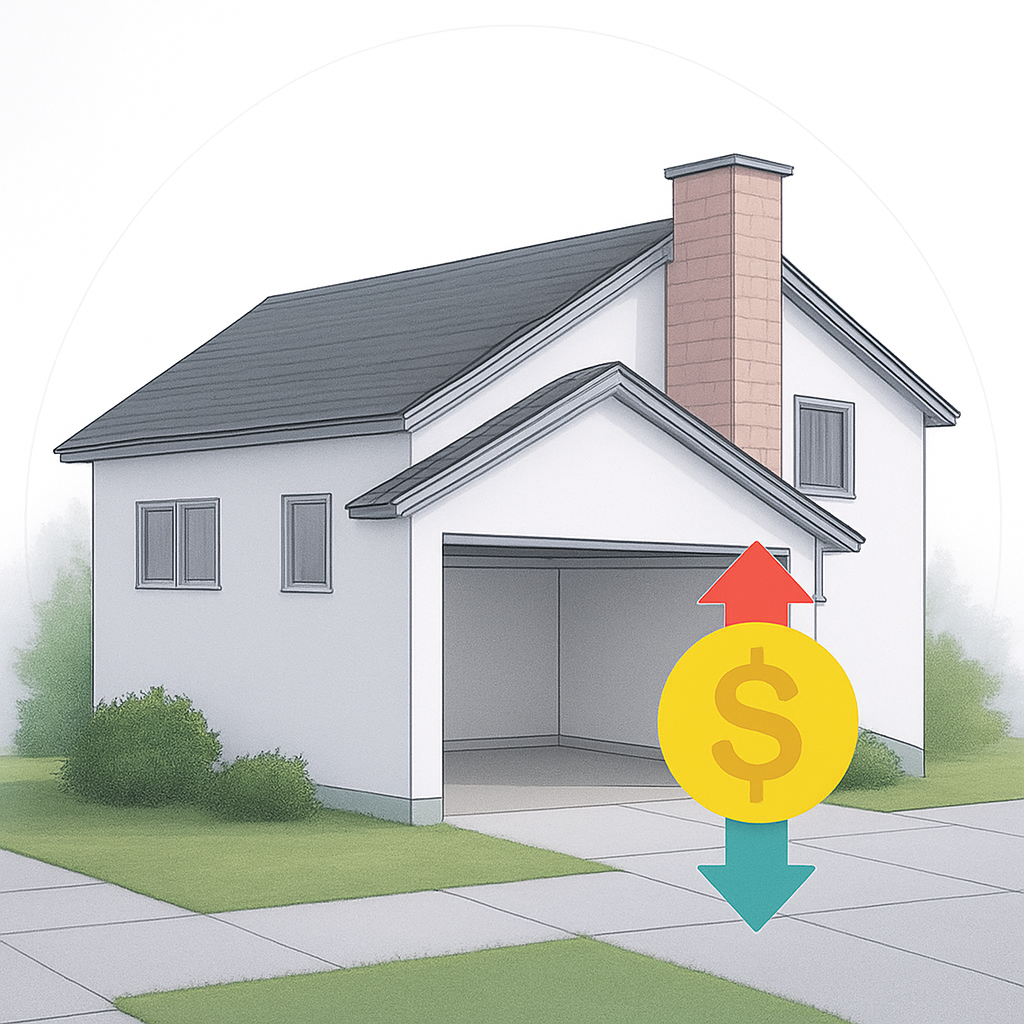
Save on energy costs
Lower your energy bills by reducing temperature fluctuations and minimizing the strain on your home’s heating and cooling system.
Keep heat out
Reflect radiant heat away from your garage to stay cooler during hot weather and reduce indoor heat buildup.
Reduce heat loss
Reflect heat back into your garage during cold weather to maintain warmth and improve year-round comfort.
Save on energy costs
Lower your energy bills by reducing temperature fluctuations and minimizing the strain on your home’s heating and cooling system.
Year-Round Comfort & Energy Savings
Adding a radiant barrier to your garage door is a simple way to make your home more comfortable and energy-efficient.
Our ES® Reflective Garage Door Insulation Kit products maintain steady indoor temperatures and help prevent heat or cold from affecting adjacent rooms. Moisture-resistant and long-lasting, this insulation not only reduces HVAC wear and tear but also keeps your garage comfortable in every season—perfect for storage, hobbies, or daily use.
Enjoy the Benefits:
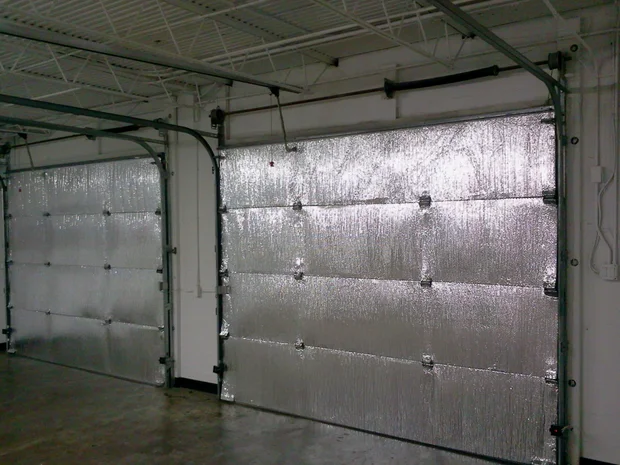
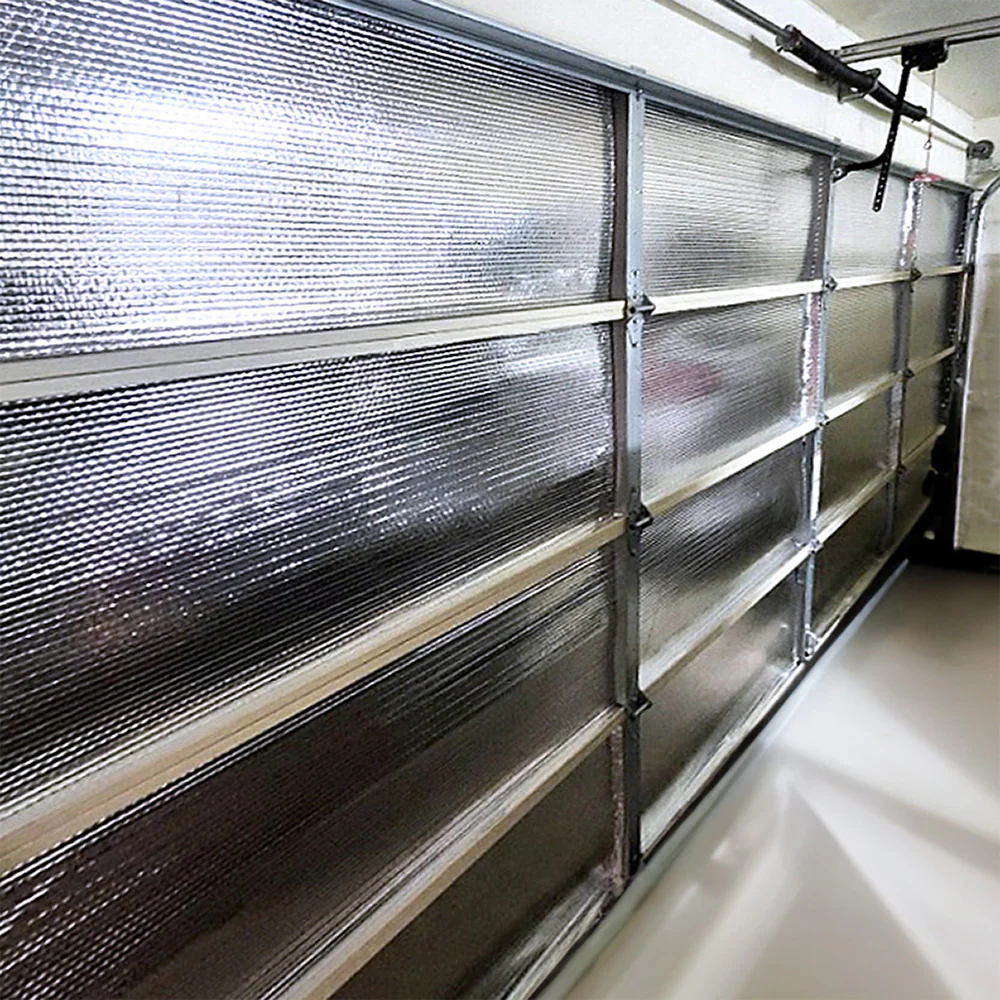
Radiant Barrier & Reflective Insulation for Garage Doors
Garage doors are one of the biggest sources of heat transfer in a home—but often the most overlooked. Without proper insulation, garages trap heat in summer and let cold air in during winter, making them uncomfortable year-round.
Energy Shield’s Reflective Garage Door Insulation products blocks up to 95% of radiant heat, helping regulate temperatures and reduce energy waste. Designed to fit most standard garage doors, our insulation kit improves comfort, protects against condensation, and enhances overall energy efficiency.
Whether you use your garage as a workspace, home gym, or storage area, radiant barrier insulation transforms it into a more functional and comfortable part of your home.
Key Benefits:
ES® GARAGE DOOR INSULATION PRODUCTS

Installing ES® Reflective Foam Insulation on your garage door does more than regulate temperature—it enhances your home’s overall energy efficiency and protection. By reflecting radiant heat, this insulation minimizes heat transfer through one of the largest and most exposed surfaces in your home. The result: a garage that stays cooler in the summer and warmer in the winter, helping maintain comfort and balance throughout the seasons.
In addition to its superior thermal performance, ES® Reflective Foam Insulation acts as a moisture and vapor barrier, protecting your garage from condensation that can lead to rust, corrosion, or mildew. This extra layer of defense safeguards your garage door, stored items, and even adjacent living spaces from unwanted moisture and temperature fluctuations.
Built with a durable, tear-resistant foam core, ES® Foam Insulation ensures long-lasting performance and reliability. It’s a smart, low-maintenance investment that improves comfort, reduces energy costs, and keeps your home environment healthier and more efficient year after year.
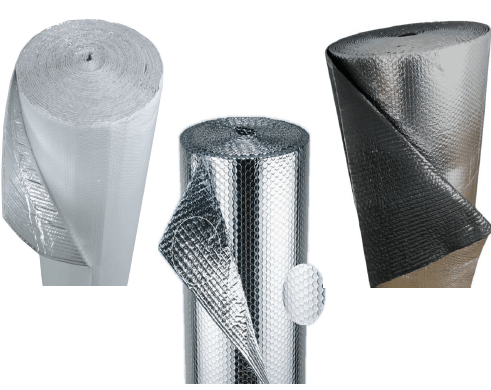

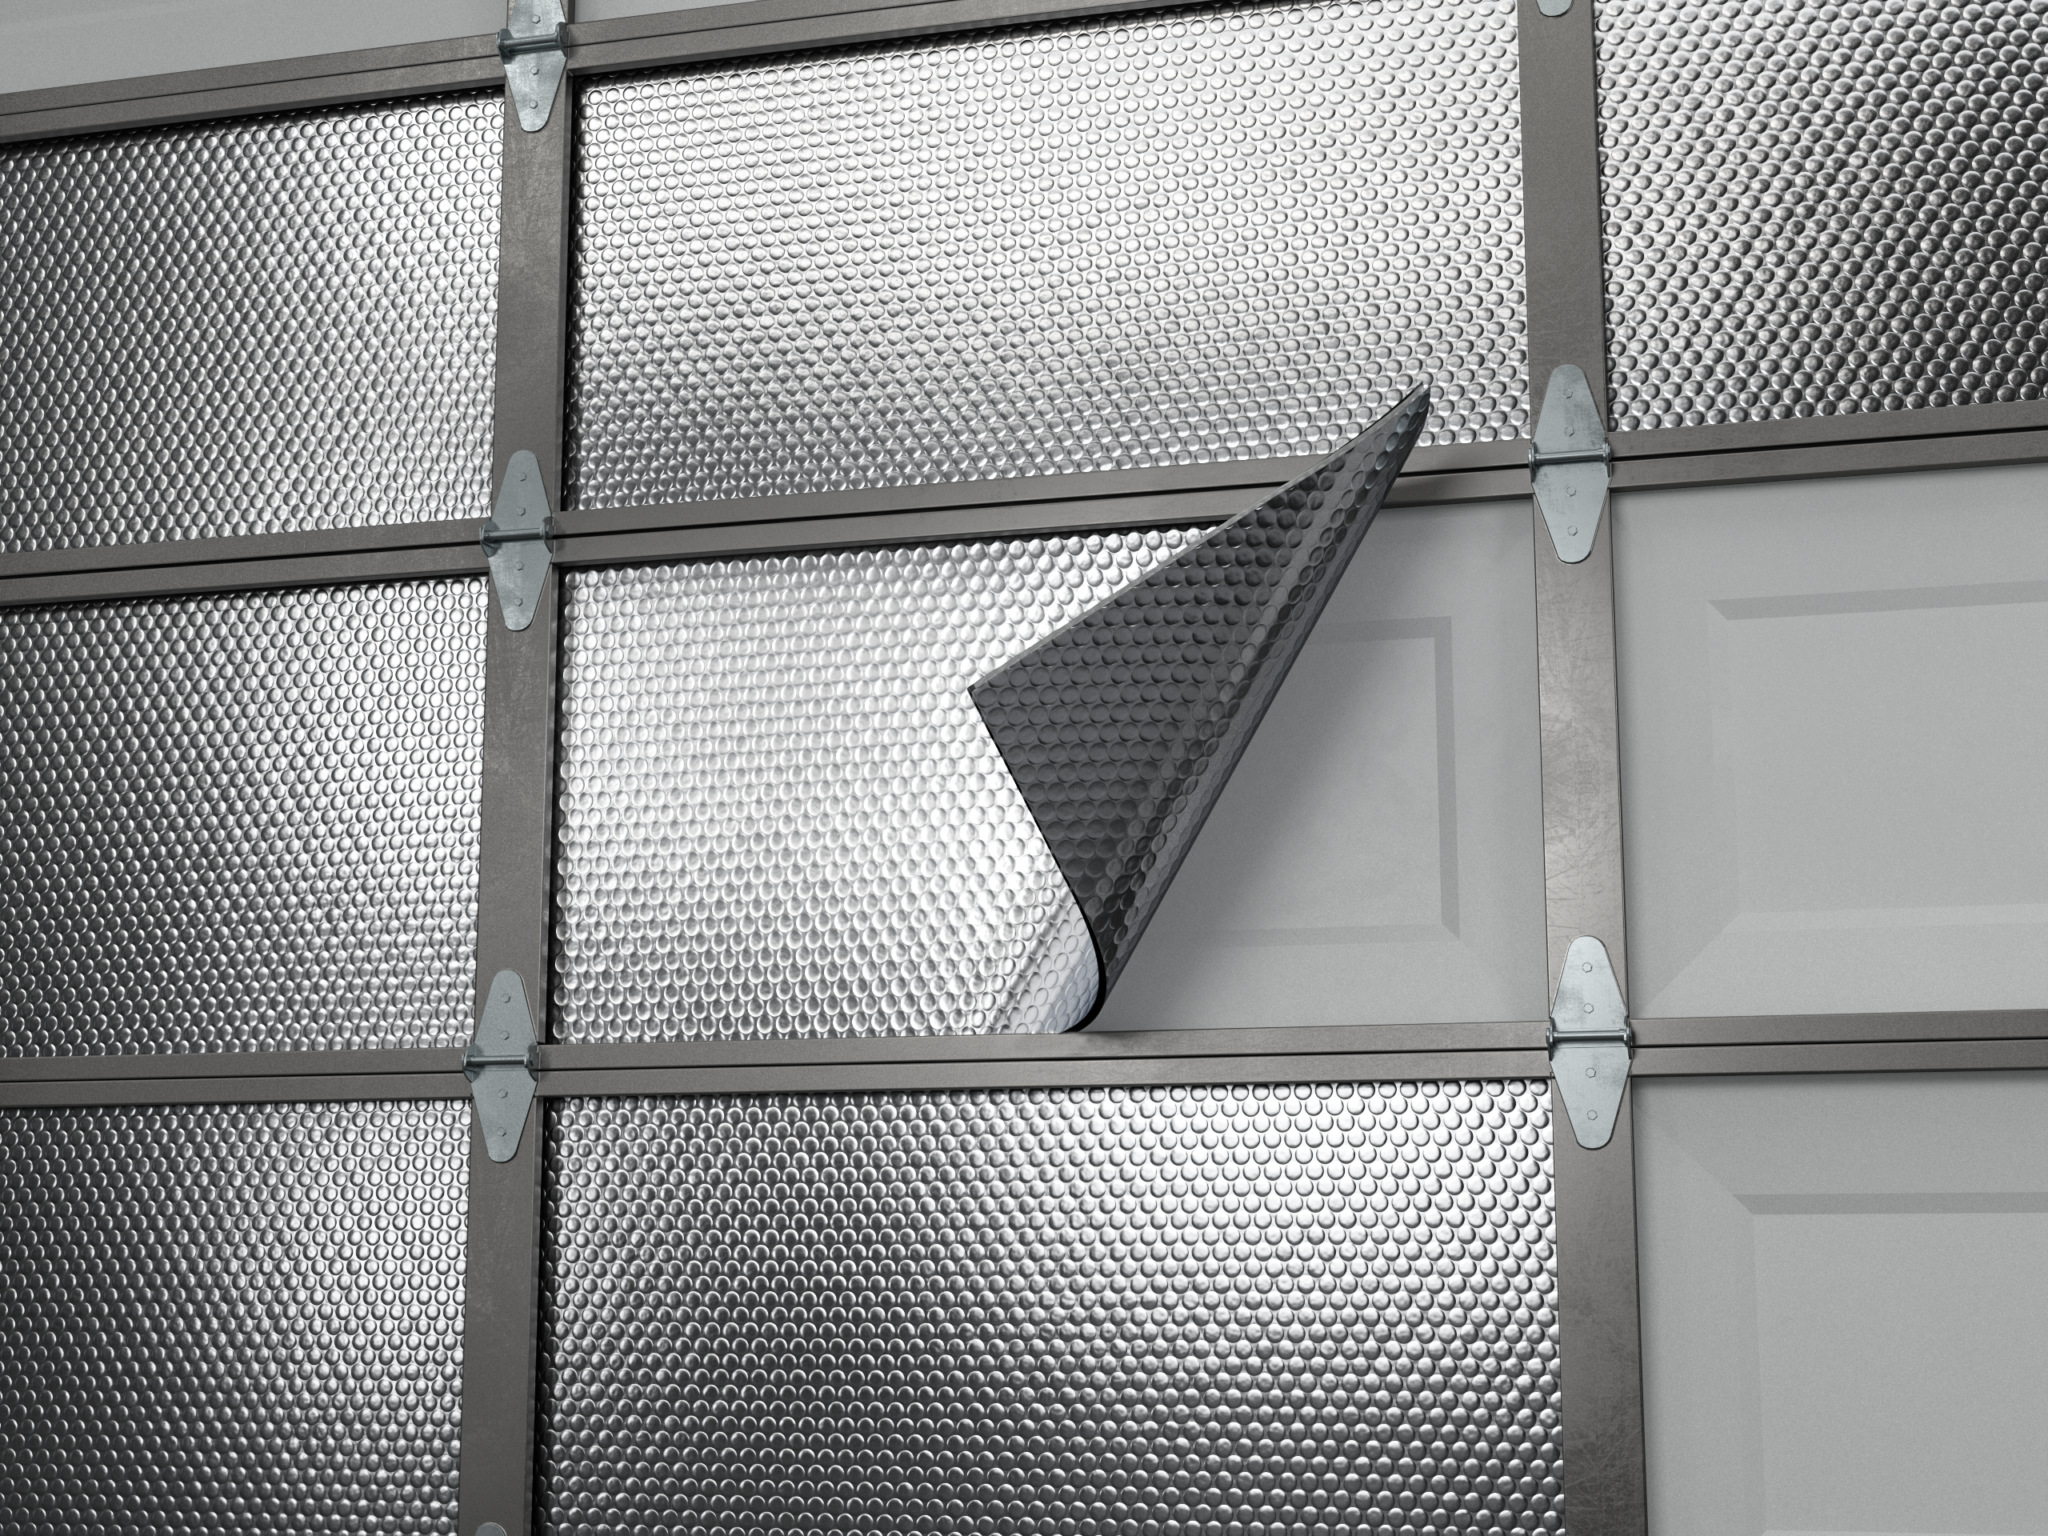
Installing ES® Reflective Bubble Insulation on your garage door provides superior radiant heat protection while adding strength and moisture resistance. The double-layer bubble core, sandwiched between reflective foil surfaces, creates a powerful thermal barrier that blocks up to 95% of radiant heat transfer—helping your garage stay cooler during hot weather and warmer through the winter months.
This insulation not only improves temperature control but also acts as an effective vapor barrier, reducing condensation that can lead to corrosion, mildew, and surface damage. By keeping moisture at bay, it helps preserve the condition of your garage door and any tools, vehicles, or items stored inside.
Lightweight, flexible, and easy to install, ES® Reflective Bubble Insulation is designed for long-term durability and consistent performance. It’s an ideal solution for homeowners who want to enhance comfort, protect their investment, and increase overall energy efficiency throughout their home.
Benefits of Reflective Insulation on Garage Doors
Adding reflective insulation to your garage door provides year-round advantages. By reducing heat transfer by up to 95%, it helps maintain a balanced indoor temperature and reduces the strain on your home’s HVAC system.
It also helps prevent rust, corrosion, and moisture damage by minimizing condensation—especially useful in humid climates. Beyond comfort and protection, the reflective layer even dampens noise, making your garage a quieter, more enjoyable space for work or play.
You’ll Notice:
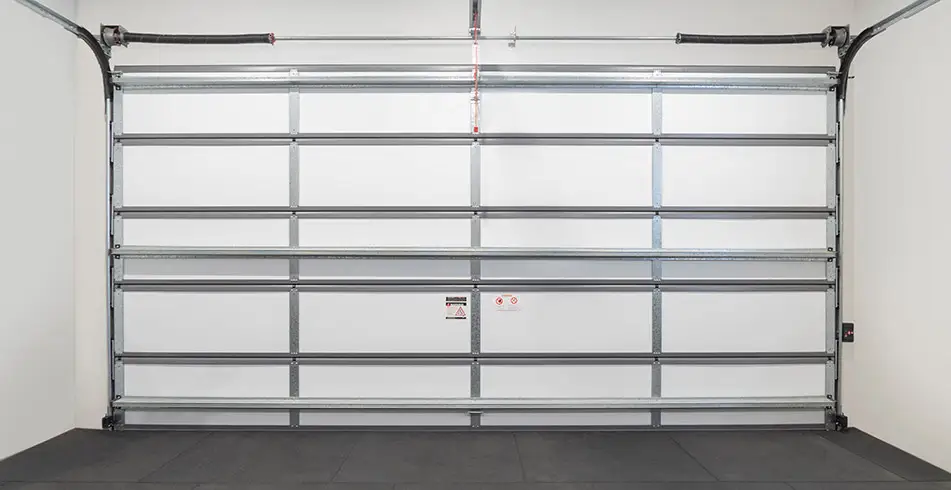
Why Choose Radiant Barrier Garage Door Insulation?
Garage doors are large, uninsulated surfaces exposed directly to outdoor temperatures. Without insulation, they allow heat to pour in during summer and escape during winter.
Energy Shield’s Radiant Barrier Insulation reflects radiant heat to stabilize indoor temperatures, helping reduce HVAC strain and lower monthly energy bills. This protective layer also extends the life of your garage door by reducing the stress caused by constant temperature changes.
Key Advantages
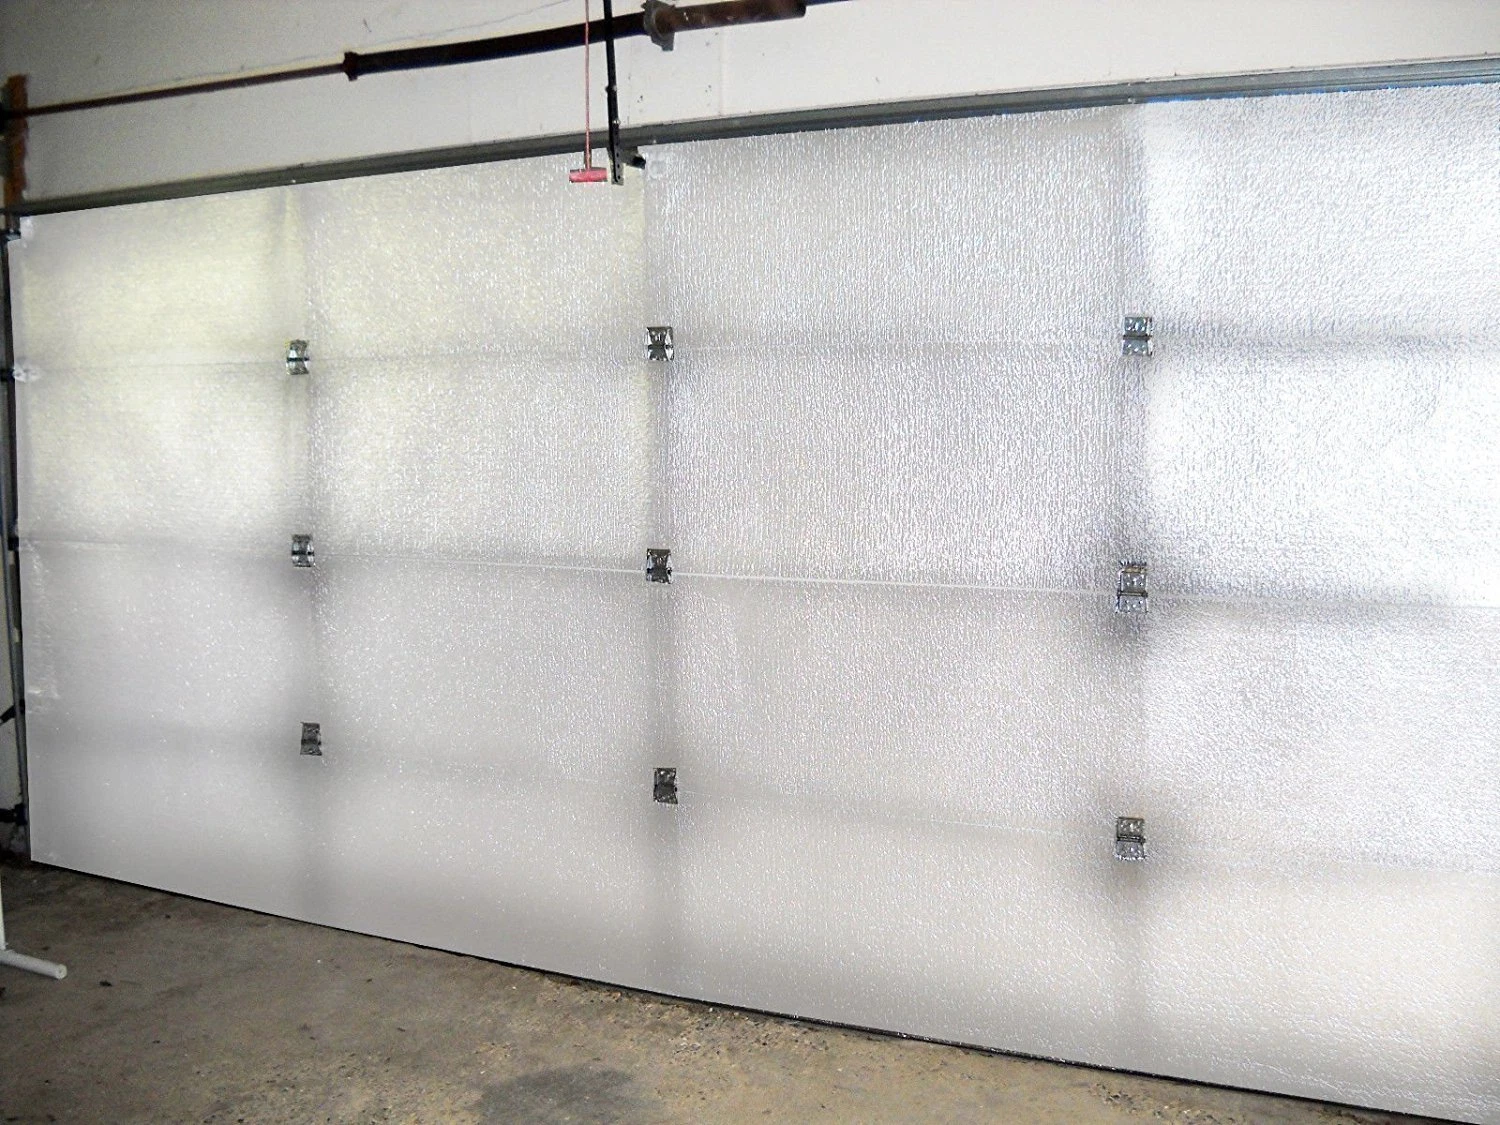
Easy Installation for Any Garage Door
Our Reflective Insulation is designed for quick, DIY installation—no professional tools or experience needed. Each kit includes pre-cut panels that fit most standard two-car garage doors and can be trimmed for a perfect fit.
Installation takes just a few hours and immediately begins improving temperature control and reducing heat transfer. Once installed, the insulation remains durable, lightweight, and effective for years—offering long-term protection and savings.
Perfect for:
Radiant Barrier & Reflective Insulation for Garage Doors
Garage doors are one of the biggest sources of heat transfer in a home—but often the most overlooked. Without proper insulation, garages trap heat in summer and let cold air in during winter, making them uncomfortable year-round.
Energy Shield’s Reflective Garage Door Insulation products blocks up to 95% of radiant heat, helping regulate temperatures and reduce energy waste. Designed to fit most standard garage doors, our insulation kit improves comfort, protects against condensation, and enhances overall energy efficiency.
Whether you use your garage as a workspace, home gym, or storage area, radiant barrier insulation transforms it into a more functional and comfortable part of your home.
Key Benefits:
- Blocks up to 95% of radiant heat
- Keeps your garage cooler in summer and warmer in winter
- Prevents condensation and moisture buildup
ES® GARAGE DOOR INSULATION PRODUCTS
Installing ES® Reflective Foam Insulation on your garage door does more than regulate temperature—it enhances your home’s overall energy efficiency and protection. By reflecting radiant heat, this insulation minimizes heat transfer through one of the largest and most exposed surfaces in your home. The result: a garage that stays cooler in the summer and warmer in the winter, helping maintain comfort and balance throughout the seasons.
In addition to its superior thermal performance, ES® Reflective Foam Insulation acts as a moisture and vapor barrier, protecting your garage from condensation that can lead to rust, corrosion, or mildew. This extra layer of defense safeguards your garage door, stored items, and even adjacent living spaces from unwanted moisture and temperature fluctuations.
Built with a durable, tear-resistant foam core, ES® Foam Insulation ensures long-lasting performance and reliability. It’s a smart, low-maintenance investment that improves comfort, reduces energy costs, and keeps your home environment healthier and more efficient year after year.
Installing ES® Reflective Bubble Insulation on your garage door provides superior radiant heat protection while adding strength and moisture resistance. The double-layer bubble core, sandwiched between reflective foil surfaces, creates a powerful thermal barrier that blocks up to 95% of radiant heat transfer—helping your garage stay cooler during hot weather and warmer through the winter months.
This insulation not only improves temperature control but also acts as an effective vapor barrier, reducing condensation that can lead to corrosion, mildew, and surface damage. By keeping moisture at bay, it helps preserve the condition of your garage door and any tools, vehicles, or items stored inside.
Lightweight, flexible, and easy to install, ES® Reflective Bubble Insulation is designed for long-term durability and consistent performance. It’s an ideal solution for homeowners who want to enhance comfort, protect their investment, and increase overall energy efficiency throughout their home.
Why Choose Radiant Barrier Garage Door Insulation?
Garage doors are large, uninsulated surfaces exposed directly to outdoor temperatures. Without insulation, they allow heat to pour in during summer and escape during winter.
Energy Shield’s Radiant Barrier Insulation reflects radiant heat to stabilize indoor temperatures, helping reduce HVAC strain and lower monthly energy bills. This protective layer also extends the life of your garage door by reducing the stress caused by constant temperature changes.
Key Advantages:
- Reflects radiant heat for consistent temperatures
- Lowers energy costs and improves efficiency
- Protects doors from thermal stress and damage
Benefits of Reflective Insulation on Garage Doors
Adding reflective insulation to your garage door provides year-round advantages. By reducing heat transfer by up to 95%, it helps maintain a balanced indoor temperature and reduces the strain on your home’s HVAC system.
It also helps prevent rust, corrosion, and moisture damage by minimizing condensation—especially useful in humid climates. Beyond comfort and protection, the reflective layer even dampens noise, making your garage a quieter, more enjoyable space for work or play.
You’ll Notice:
- Better temperature control during extreme weather
- Less noise and moisture
- Increased durability for your garage door and stored items
Easy Installation for Any Garage Door
Our Reflective Insulation Kits are designed for quick, DIY installation—no professional tools or experience needed. Each kit includes pre-cut panels that fit most standard two-car garage doors and can be trimmed for a perfect fit.
Installation takes just a few hours and immediately begins improving temperature control and reducing heat transfer. Once installed, the insulation remains durable, lightweight, and effective for years—offering long-term protection and savings.
Perfect For:
- Homeowners seeking simple, affordable energy upgrades
- Protecting valuables or tools from temperature swings and humidity
- Reducing noise and energy costs throughout your home
How to Install a Garage Door Insulation Kit
Installing reflective insulation on your garage door is easier than you think! Follow our simple, step-by-step guide to properly measure, cut, and install your insulation kit for maximum energy savings and comfort.